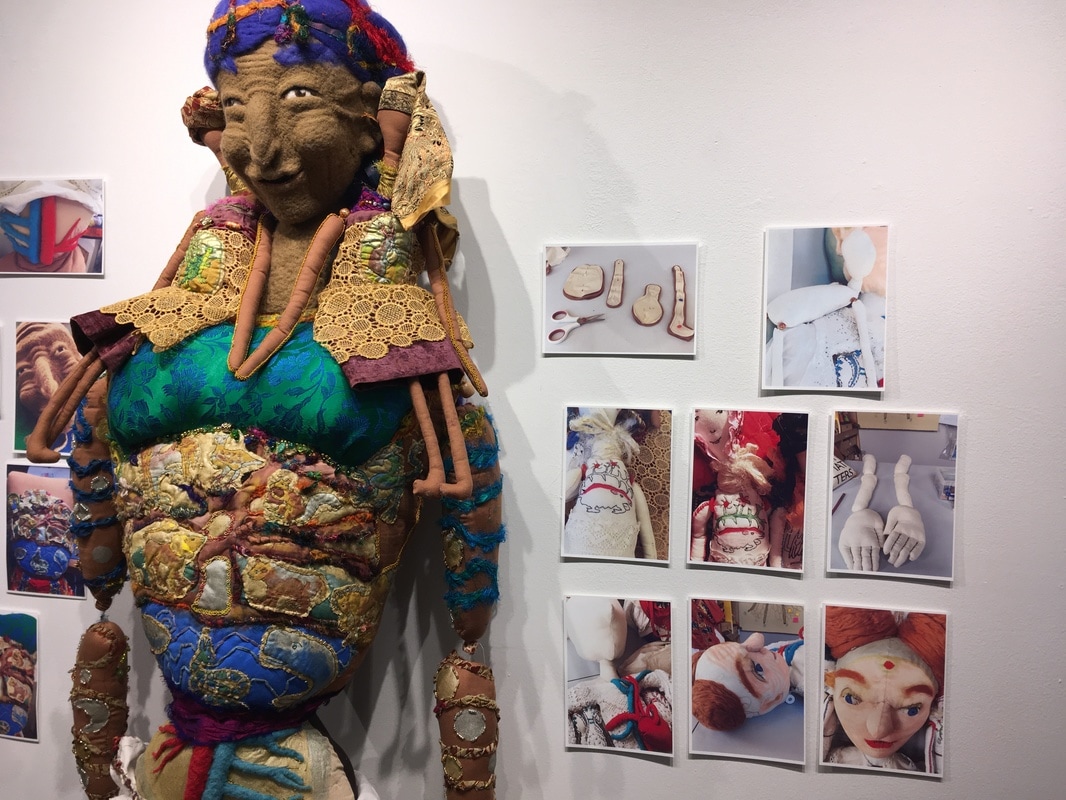
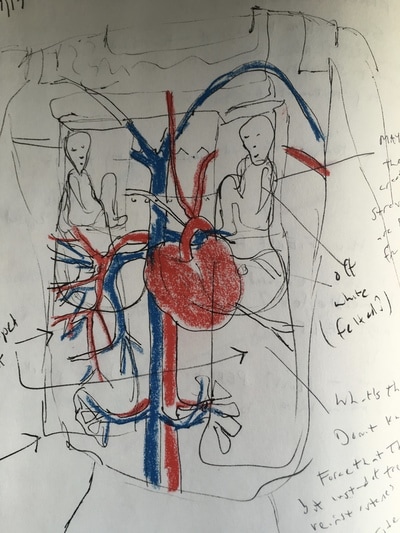
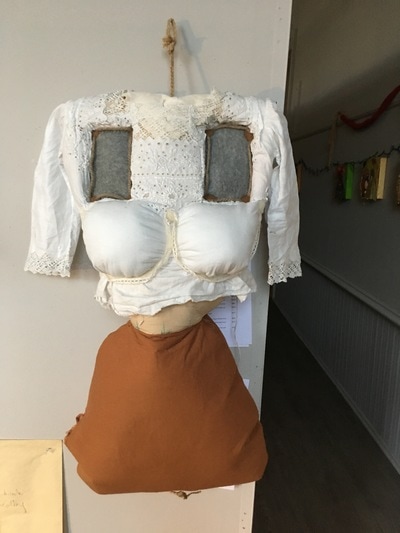
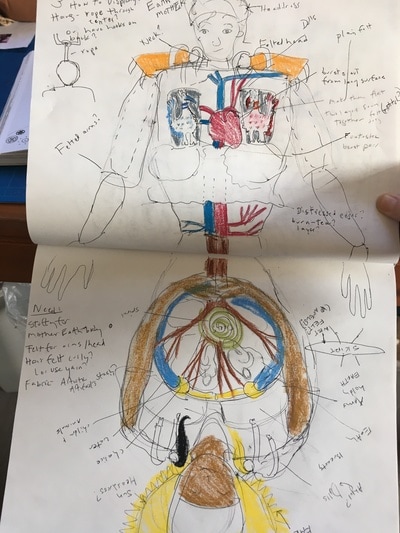
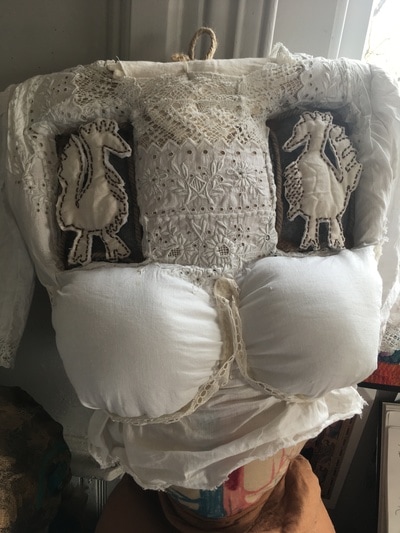
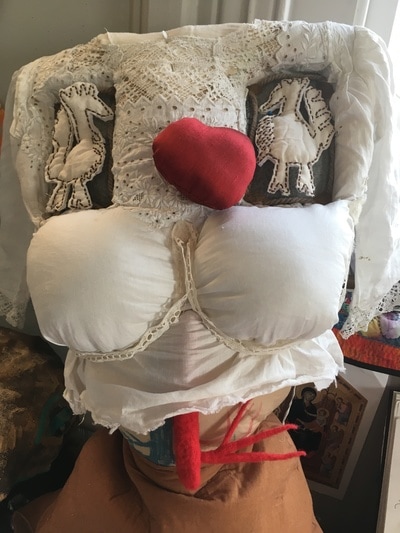
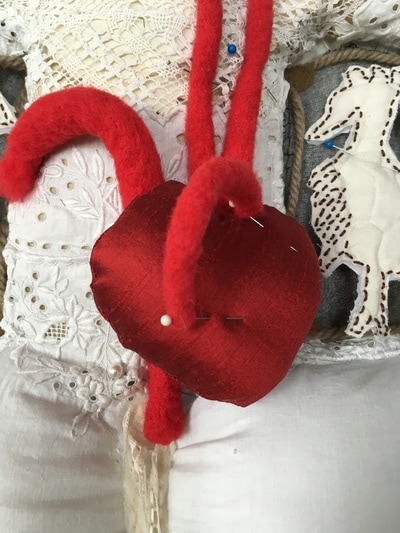
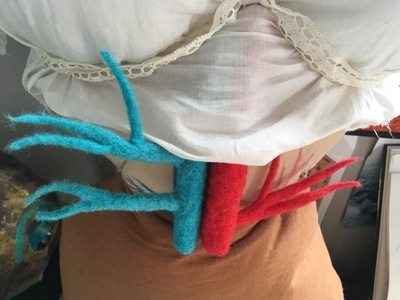
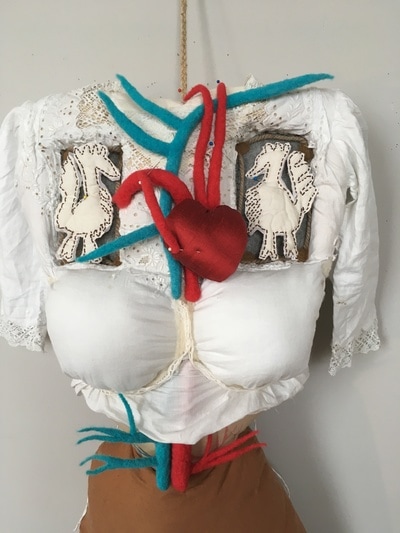
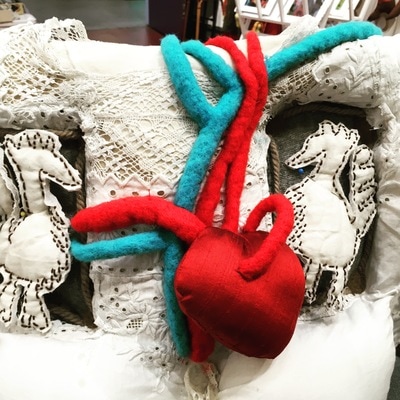
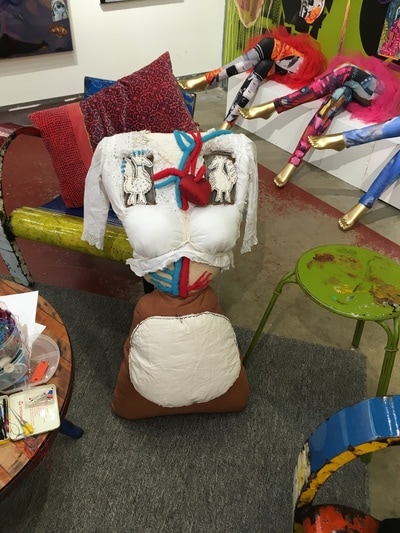
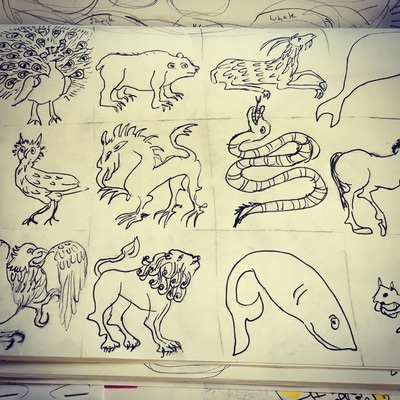
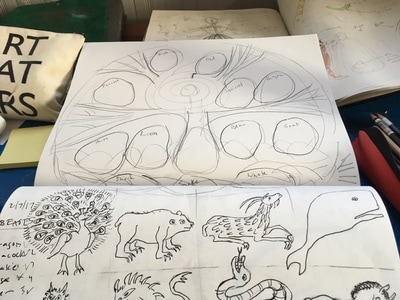
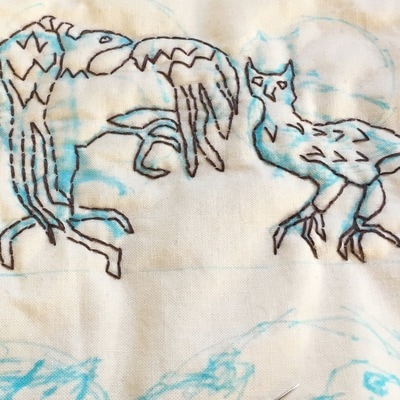
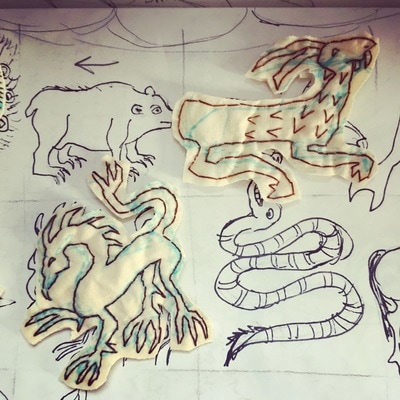
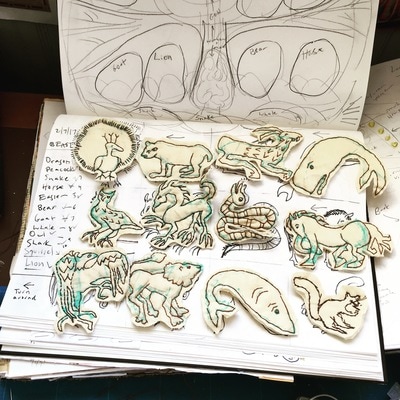
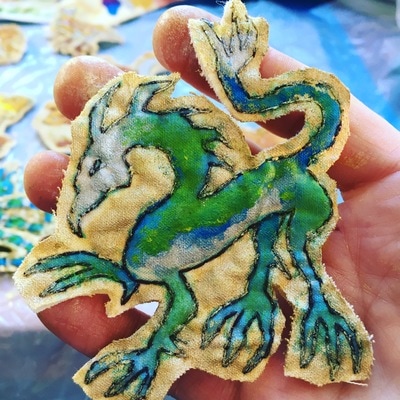
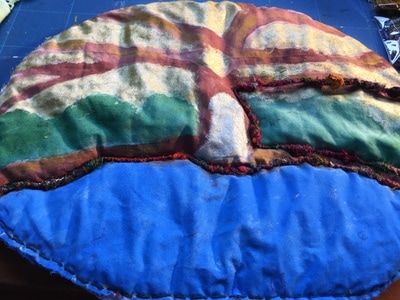
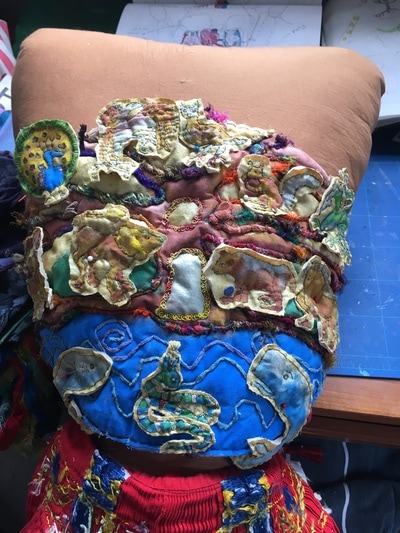
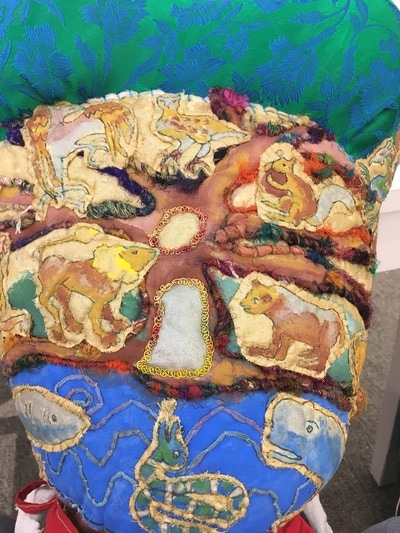
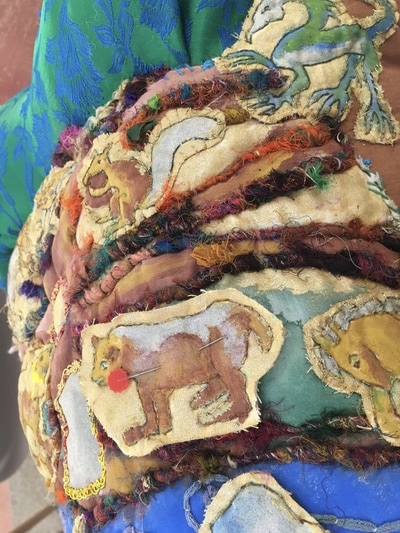
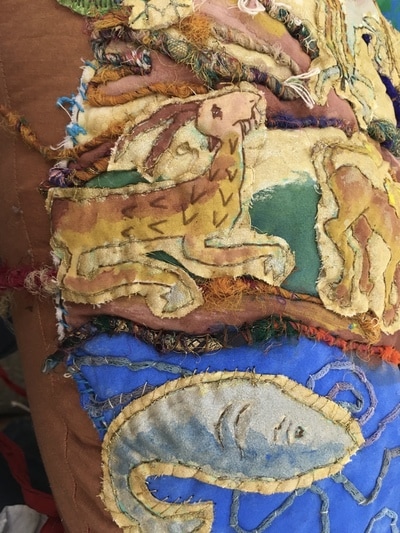
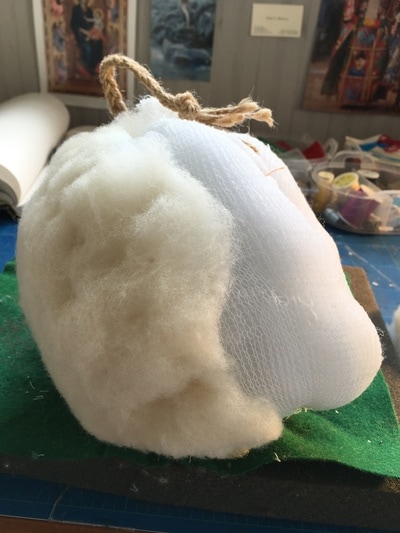
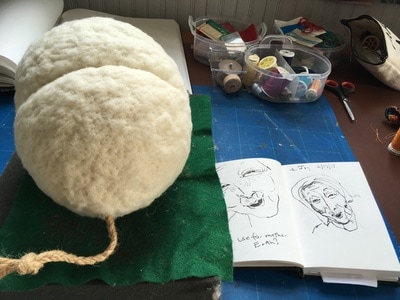
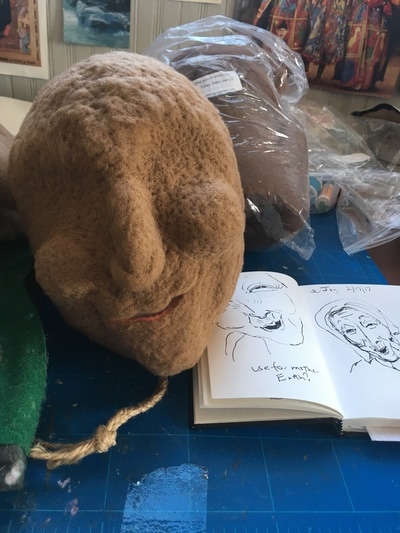
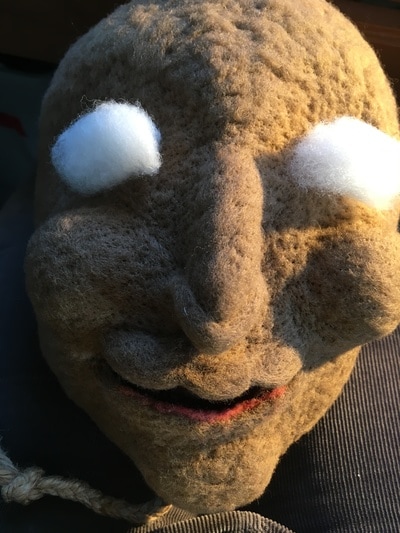
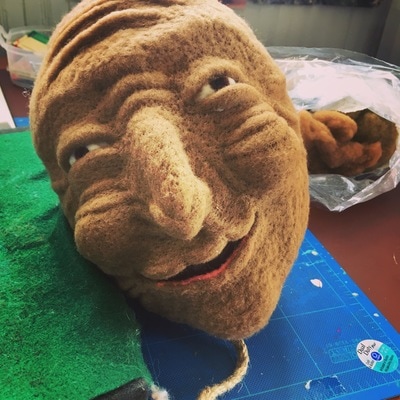
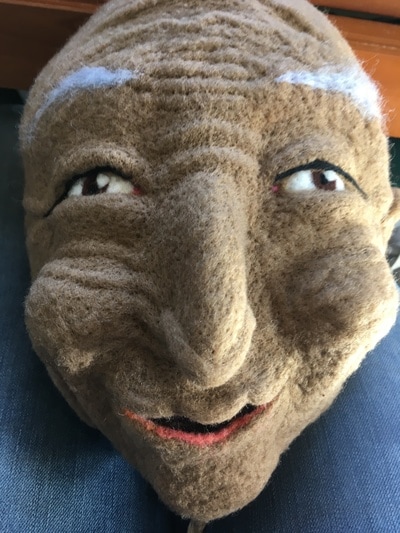
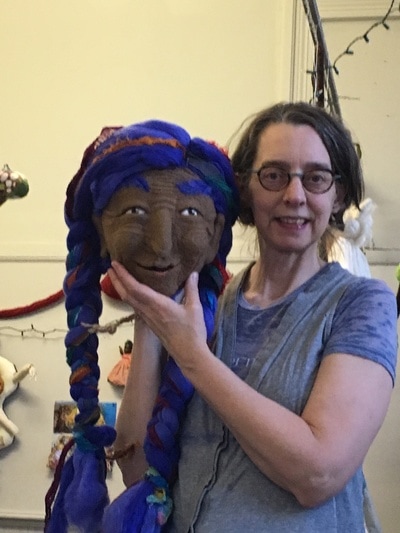
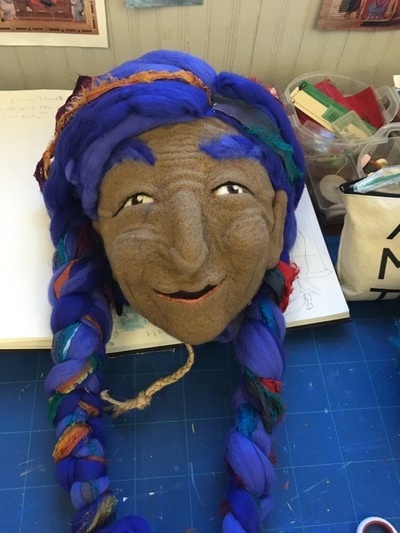
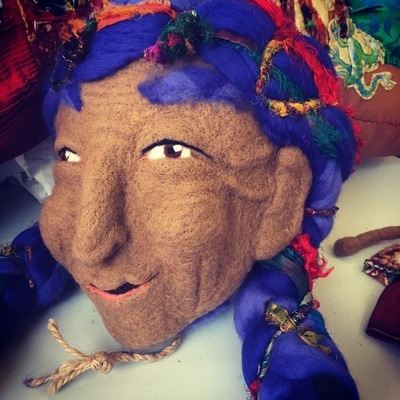
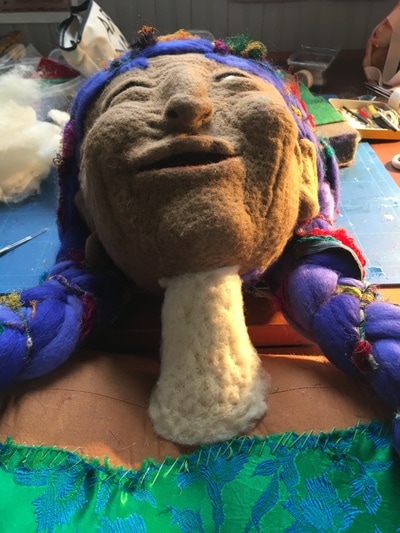
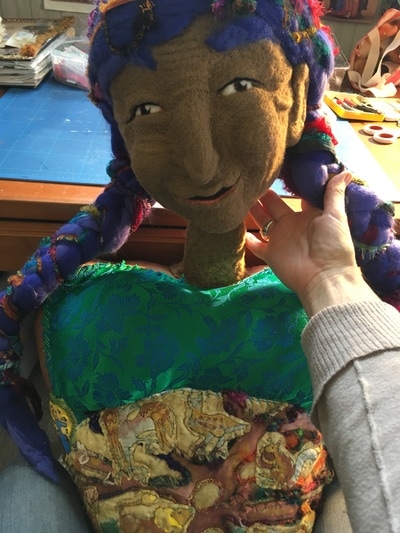
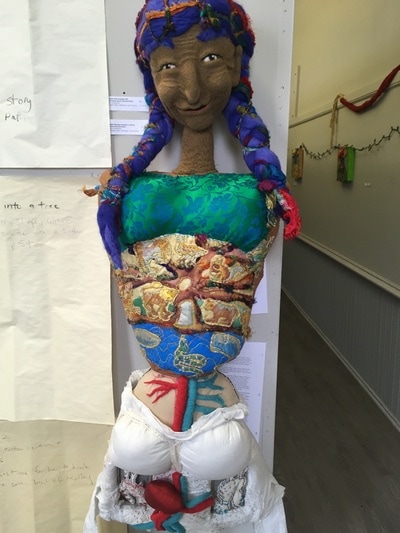
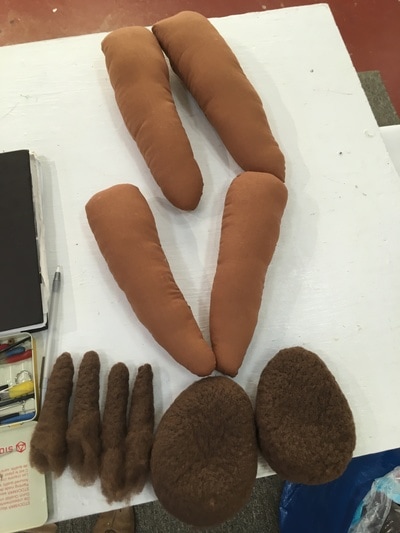
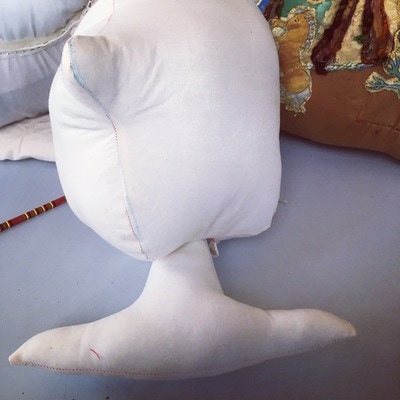
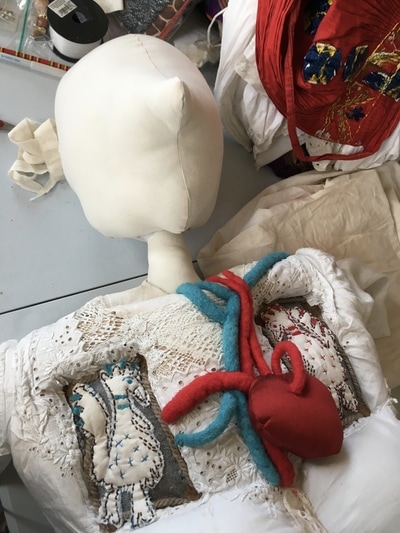
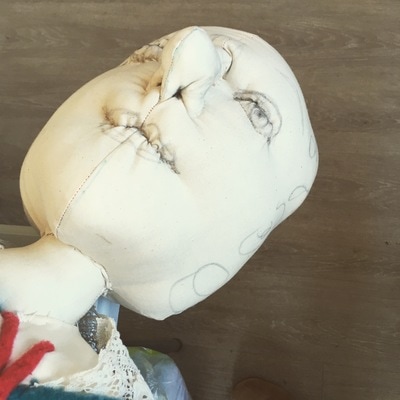
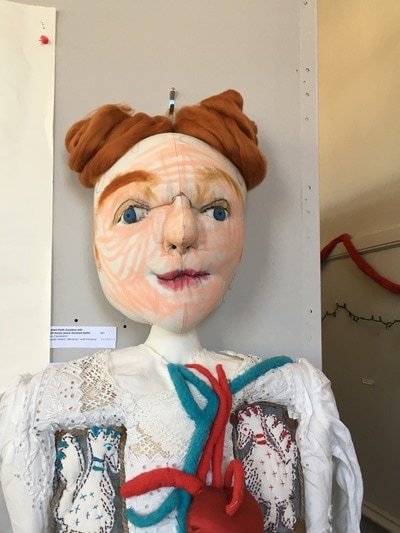
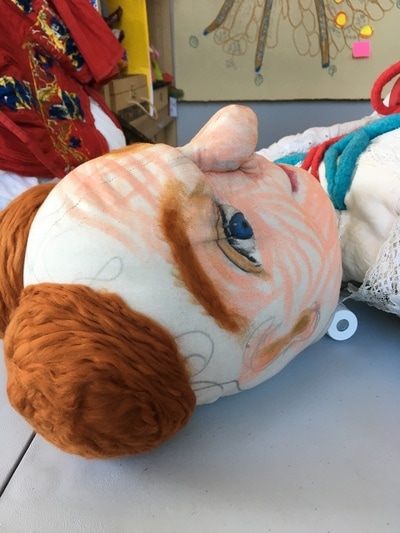
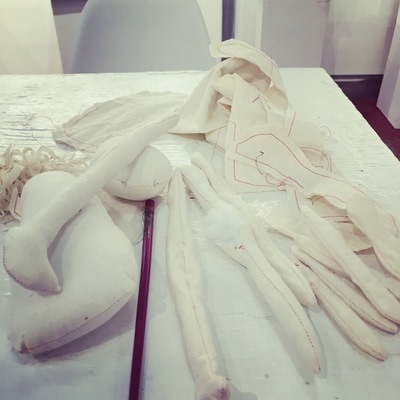
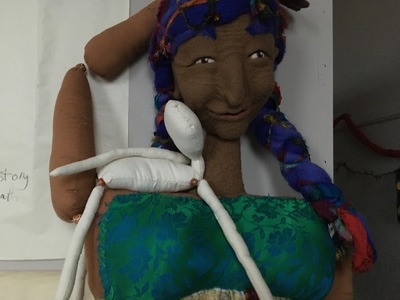
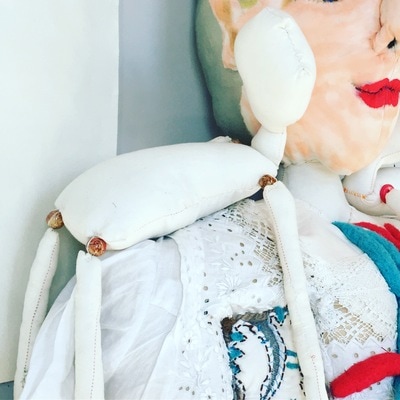
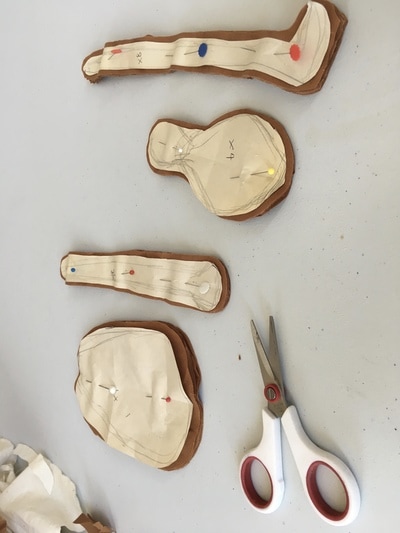
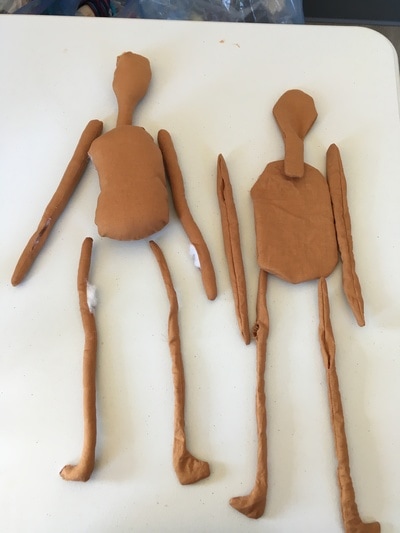
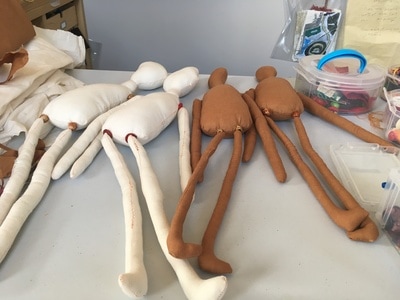
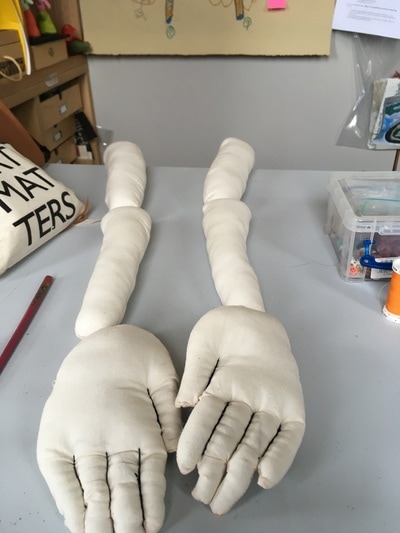
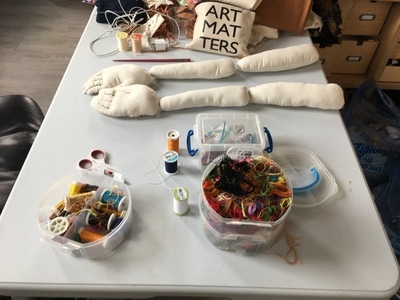
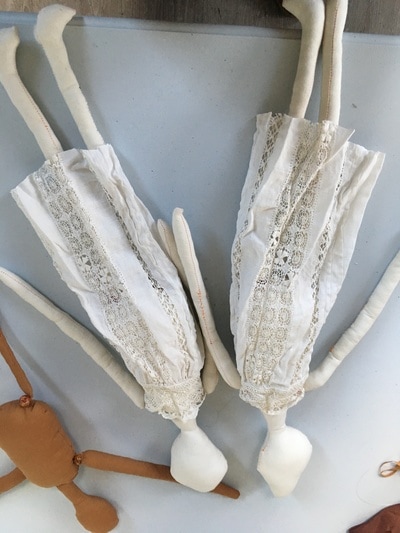
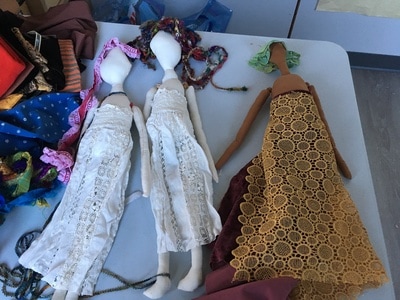
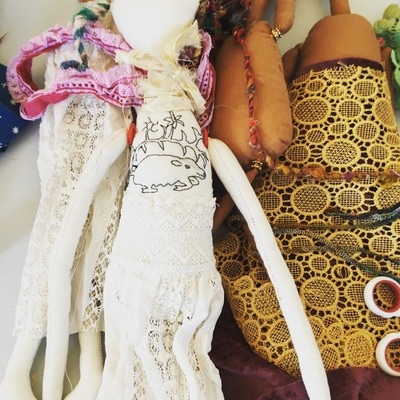
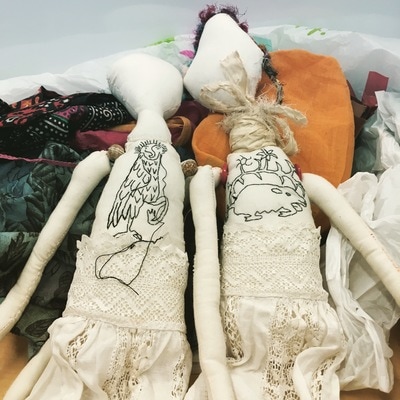
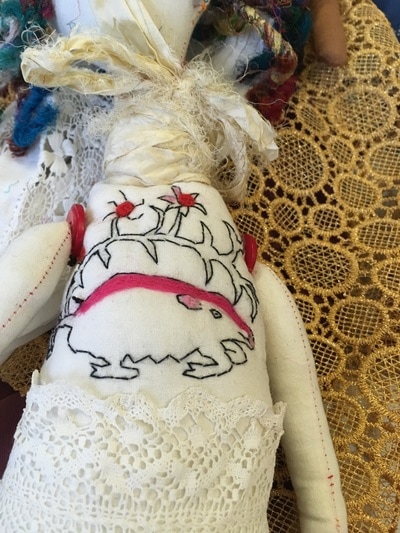
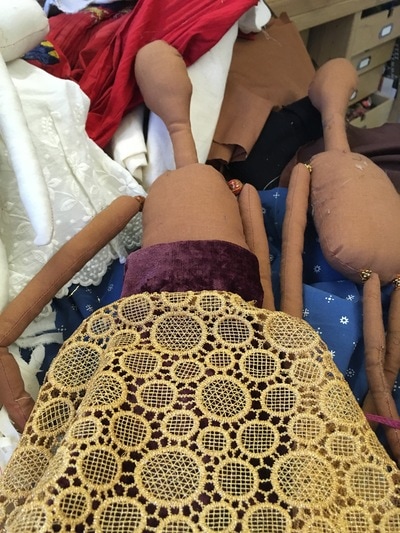
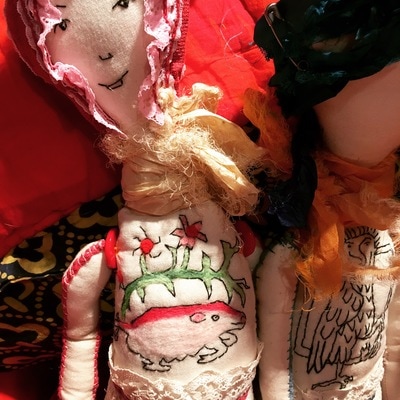
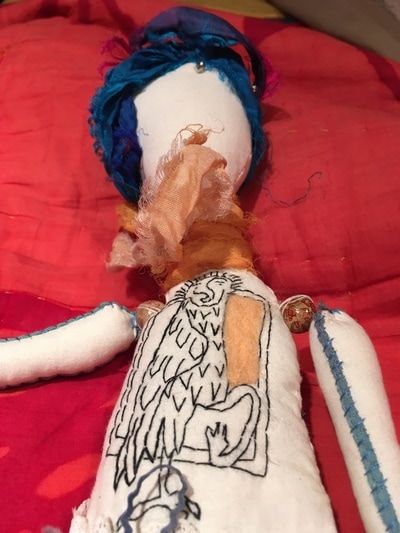
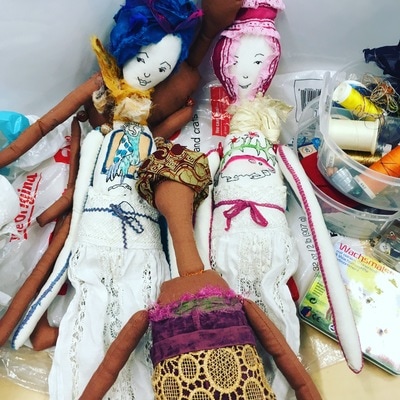
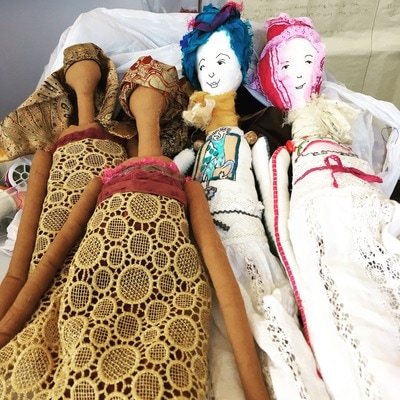
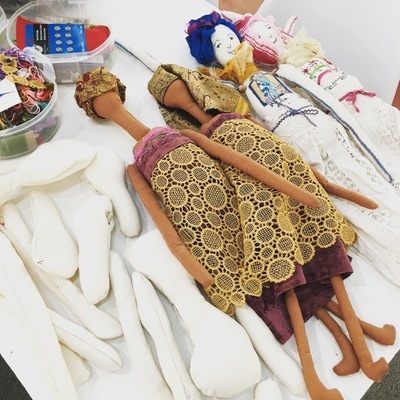
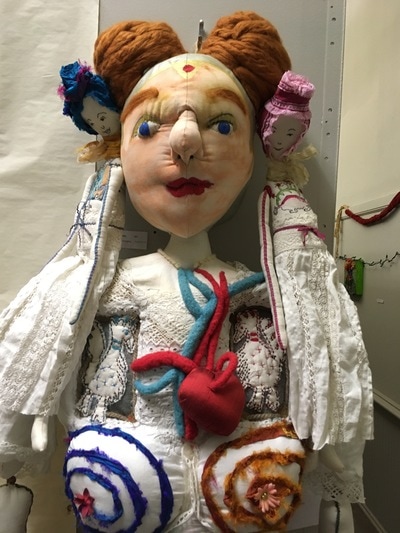
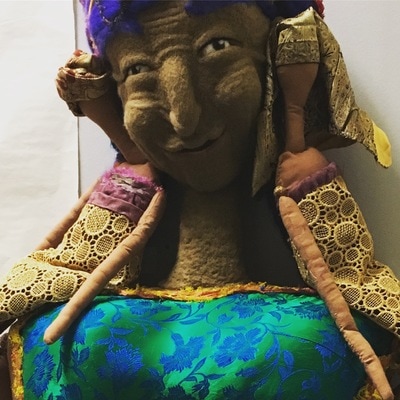
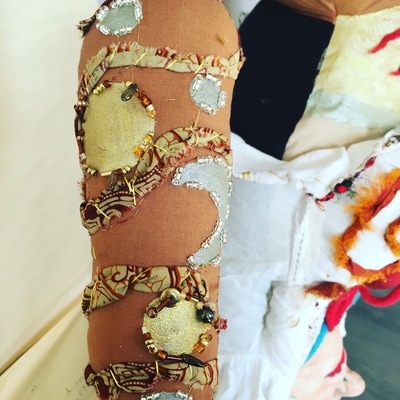
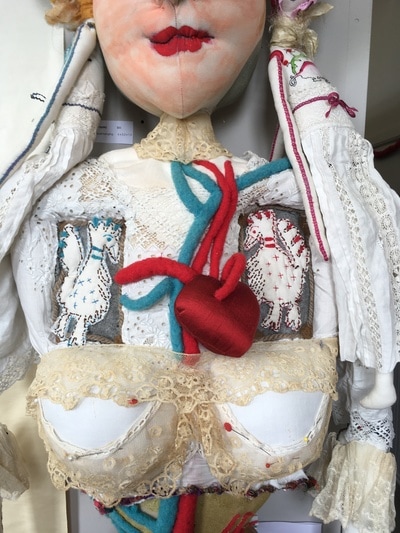
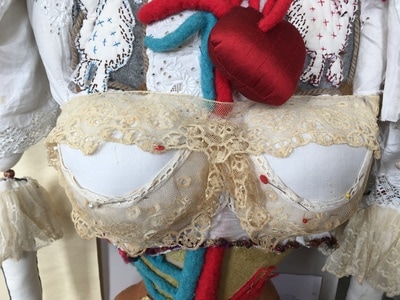
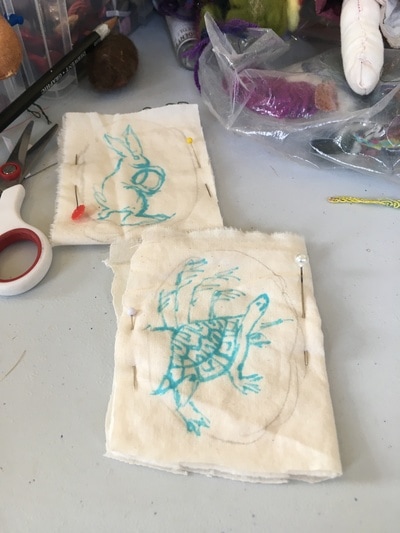
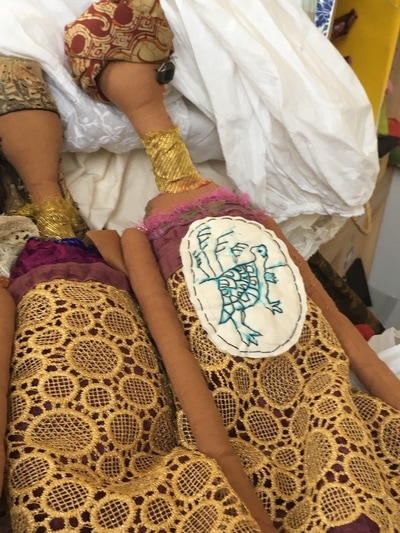
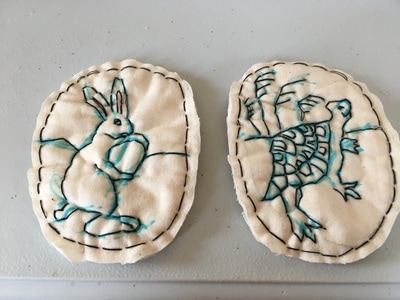
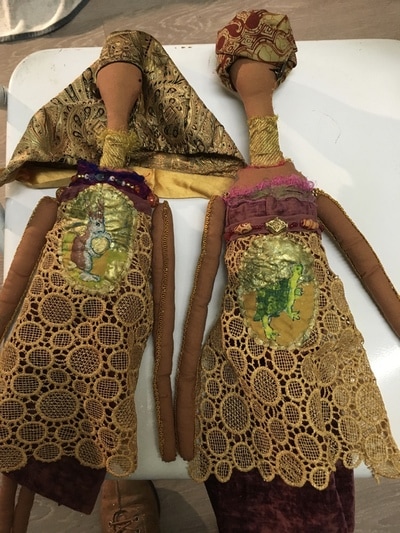
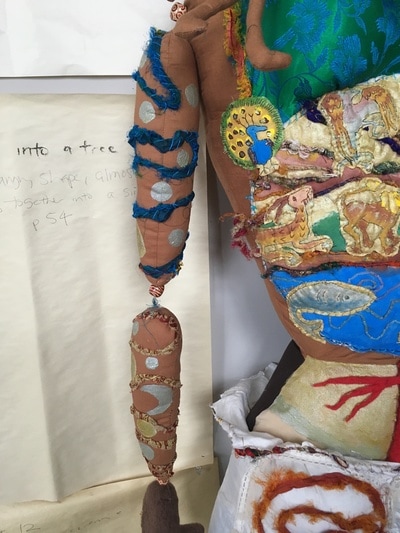
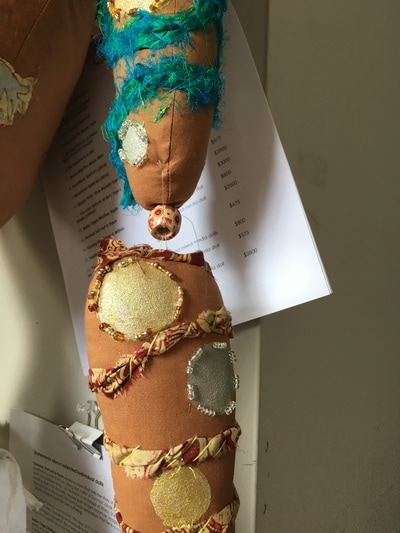
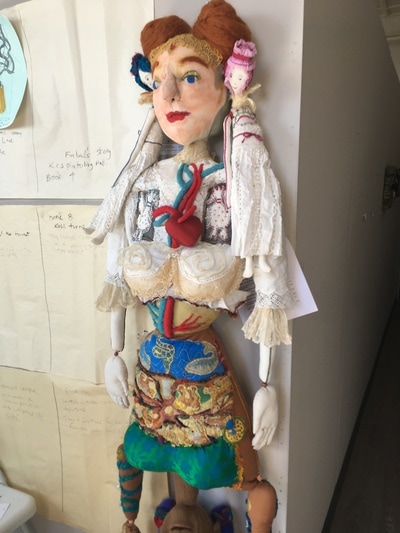
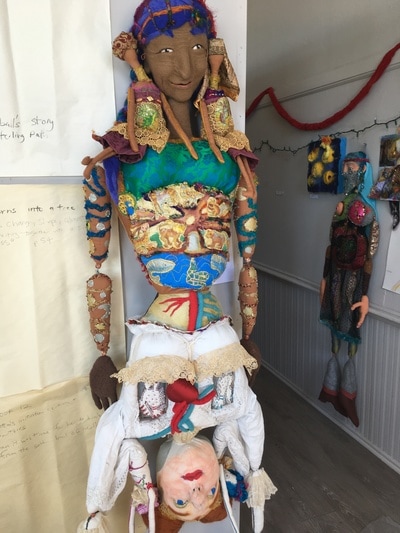
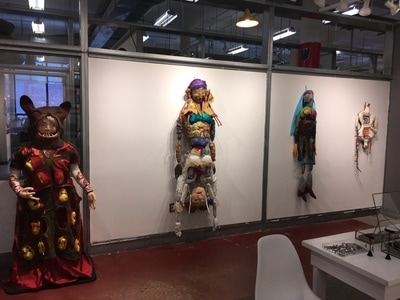
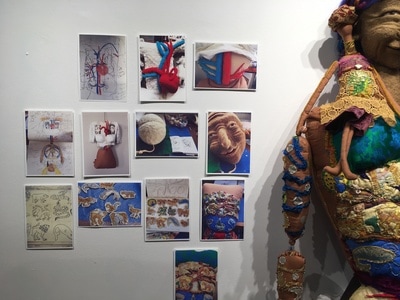
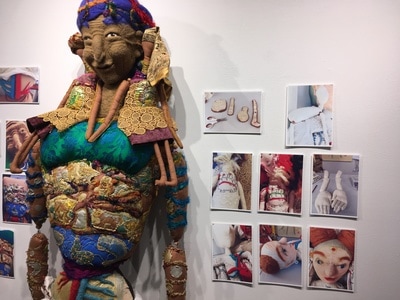
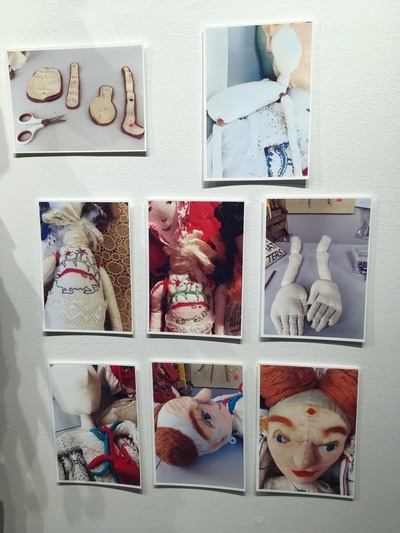
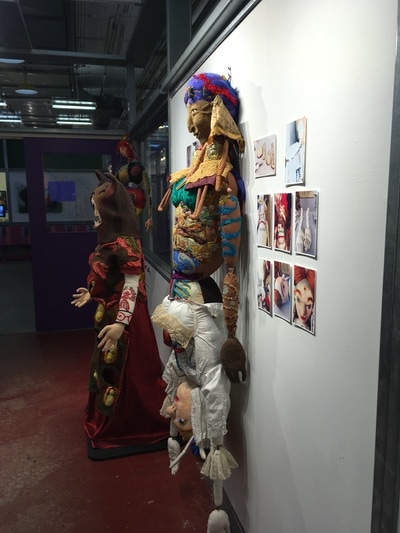
 This is the fifth post in a series of articles about my current project: REVISIONING FLIP DOLLS. I received a Conant Grant from the Potomac Fiber Arts Guild and as part of this project, I am working with homeless women at N. Street Village in DC making flip dolls; interviewing professional artists who make flip dolls, and making my own flip dolls. And more... I will be writing about all of these efforts in these pages. For the last couple months, I've been working in my studio on a large scale flip doll. This week I finished her!! And she's in a show at the Torpedo Factory, in the TAG (Associates Gallery, Studio 311) called From Start to Finish, on display until April 7th. Here she is in the show (above) and below are photos of the process of making her. Her name is Rhea-Mother Earth/Raina-Every Woman is an Empress. In the photo above you can see the Mother Earth side of the flip doll. I'll show the other side below. I'm also planning a final exhibit next March (2018) of this flip doll and others I create, along with some of the dolls created by the N Street participants and some flip dolls created by PFAG members and other artists as part of a flip doll challenge (which I will be describing in more detail in future posts.) Stay tuned for this. If you're in the DC area, you can come see the Torpedo Factory exhibit any day. The Torpedo Factory is open every day from 11 to 6 and on Thursdays until 8. Or come to the reception next Thursday night (March 30th) from 5:30 to 7:30 pm. Two other artists are featured in this show; painter Greenway and jeweler Paulette Warwick. Below is an article about the process of creating Mother Earth/Empress.. First stage: Mapping out the images and creating a form to work with Sometimes I start a doll with drawings, sometimes I don't. In this case I started with an idea and then I made drawings as I went along, to imagine next steps. My original intention was to create a flip doll in response to my recent work with homeless women at N. Street Village. That idea led to a more general idea of our relationship with Mother Earth as women. I wanted a doll that showed the connectedness between women and the earth. In this doll, I decided to show that connection from the veins and arteries of the woman to the roots of the Tree of Life on the Mother Earth side. In this series of images, you can see my initial sketch of the woman side of the doll. Then I worked out the image with stitching, felting and simple sewing. The two griffin creatures were inspired by images of early Goddess imagery in various cultures, where the Goddess is often depicted between two fantastical creatures such as griffins, peacocks or dragons. They are her guides and protectors. The second drawing shows how I envisioned the two dolls being connected. Second stage: Stitching the fantastic beasts and Tree of Life The images above show the next stage, which involved a lot of stitching. First I sewed an oval shape for the "world" belly of the Earth Mother side of the doll. Then I chose twelve animals to be in that world, sketched them and stitched them. I painted the tree of life and then stitched and embellished it. Then I painted each individual animal and stitched each of them to the panel. I wanted a combination of real and magical creatures. Twelve is a magical number in history and also for me personally. Third Stage: Mother Earth head The next stage was creating the head of the Mother Earth side. In creating such a large felted head, I decided to use a center of cheesecloth filled with poly fill. I covered that with core wool (sheep's wool that is combed but has some of the impurities left in it.) Then I added the "skin" of dyed sheep's wool. Then I added features, inspired by an image of a radiant old woman that I found on Pinterest. Then I experimented with hair, deciding on blue wool hair embellished with silk ribbons. Then I added the neck and attached the head to the body. Fourth stage: Creating patterns and stitching the woman's head and arms and the bodies for the smaller dolls In this next phase, I started to work on the soft sculpture head and arms for the woman side of the doll. I made patterns for the small dolls, two for the shoulders of each of the dolls. For the woman, I added wool hair and then needle sculpted her facial features. Then I added color with Caran D'Ache oil pastels. I highlighted some details with fabric paint. I experimented with how the dolls were going to sit on the shoulders. First they were going to lie on the shoulders but then I decided to have them sit. For the white dolls' skirts I used lace from a blouse given to me by my mother. My mother chose lace and some other fabrics from five generations of old clothes and other antiques that were stored in her attic.. The woman's blouse is also made from this donated fabric. Fifth stage: Embellishing the smaller dolls This next part was a lot of fun. I used some of the fabrics from my mom and also some wonderful fabrics and embellishment details that I got at a store called Artistic Artifacts, in Alexandria, VA to decorate the small dolls. I wanted them to each have an animal on their chests. To decorate the dolls on the woman's shoulder, I stitched animals directly onto the fabric of the dolls chests. Then I embellished them with needle felted details. Then I embellished the arms, added fabric bonnets and stitched simple facial features. For the dolls on the Mother Earth side I sewed some beautiful gold fabric and velvet from Artistic Artifacts. Later I added animals that I had stitched and painted, similar to the ones on Mother Earth's belly. I decided to leave off the faces on the Mother Earth dolls. Sixth Stage: Final details In this last stage, I played around with different ways of adding lace to the chest of the woman side of the doll. I embellished Mother Earth's arms with beads and added beads to her chest as well. And I made the animals for the dolls for Mother Earth. I didn't get a photo of this but I decided to add beading and some needle felting to these animals as well. I was working on this up until an hour before installation. There always seems to be something more to do. The exhibit:
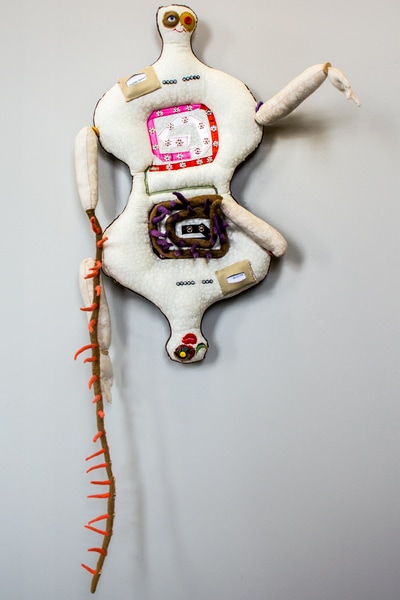
Here is a view of the exhibit at the TAG Gallery. On display are also four other of my dolls. Two of them are also flip dolls. One I didn't mention but can be seen in this last image, is entitled Good Habits/Bad Habits. This doll has 21 snaps and on each side, with arms that can be snapped on. It takes 21 days to develop a good habit or get rid of a bad one. This doll is a way to track the process of working on habits.
0 Comments
Leave a Reply. |
ErikaI've been making dolls for about ten years now. I believe that dolls serve as representations and reminders of the best part of ourselves. I am excited to share with you here my learnings about new methods and techniques for doll making and healing. So glad you are here! Categories |
Proudly powered by Weebly
 RSS Feed